


Using the free software vLite, you can create a completely custom, bootable Windows Vista install DVD. Remove the parts of Vista you don’t want/use, change some of the default settings, include Service Packs and Windows Updates, and more. Keep reading for complete step-by-step instructions on using vLite.
1. First up, download and install vLite. At the end of the installation you’ll be asked if you want to run it. Go for it, but expect an error.
2. Navigate to the vLite folder (C:\Program Files\vLite), right-click vLite.exe and select Run as administrator from the pop-up menu.
3. Accept the agreement by clicking I agree.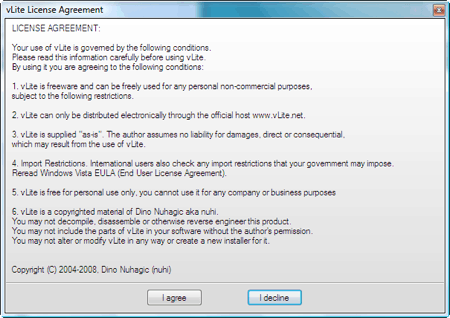
4. If prompted to install some Dependencies, click the Install button.
5. And now vLite will launch. A window will pop up asking where your Windows Vista install disc is located. Select the DVD drive that has your copy of Vista in it. Now click the Browse button.
6. Click OK on the Copy Files window, and then navigate to the folder you want to save your Windows Vista files in. It’s a good idea to create a new folder to save the files in - I opted for C:\Vista Backup\
7. Click OK when you’ve selected the folder.
8. Now vLite will copy your Vista disc to your hard drive. This can take some time (but probably not the 20 minutes displayed in the screenshot below).
9. Once vLite has copied all the files to your hard drive, it will analyze them to determine the copy of Vista that you’re running. The info will be displayed right below the Status section of vLite. When you’re ready, click Next.
10. Now you have to decide what exactly you want to change/add to Vista. You might as well select all of the possibilities - you don’t actually have to make changes in each section. You’ll probably want to leave Enable before apply unchecked.
11. In the first section, Integration, you can add hotfixes, drivers and language packs to your Vista install disc. This is also the place you can add SP1. If you want to include Hotfixes that you’ve downloaded from Windows Update, you can probably find them in C:\Windows\SoftwareDistribution\Download. Click Next when you’re ready to move on.
12. The Compatibility window will appear. Select each of the features you want to keep in your custom Vista install disc. If you hover your mouse over each select, you’ll see (at the bottom) what will be affected by not including a particular feature. Unless you really know what you’re doing, you’ll probably want to make sure everything is checked.
13. On the Applications tab you can select the applications you expect to use in Vista. I know for certain that I won’t be installing Halo 2, so I left that unchecked. When you’re done, click OK.
14. In the Components section you can place check marks in the boxes next to the components you do not want included on your Vista install disc. After you’ve reviewed all of the components - and there are a lot of them - click Next to continue.
15. In the Tweaks section you can enable, disable or leave as default some of the Vista settings. In the Security section of the Tweaks, you can disable AutoPlay (yay!) or change things like Hibernation, Power schemes etc.
16. Select System from the Tweaks section, and review the changes you can make. One that I appreciated was to set the Control Panel to Classic View by default.
17. If you’re absolutely sure you know what you’re doing, you can take a look at the Explorer section of the Tweaks, but I’d suggest leaving them alone. In the Internet Explorer section you can disable the IE Phishing Filter and/or the IE Phishing Verification Balloon Tips.
18. Once more, click Next. To enable Vista to install while being unattended, fill in all of the required fields. This allows for a fully automated installation - just put in the Vista installer DVD, click start, and you won’t need to interact with the installation at all.
19. Make sure to check the Regional tab if you’d like to specify a default Timezone, Keyboard layout, Time and currency format etc. Click Apply when you’re done.
20. Now you’ll be asked how you want to save the changes made to Vista. I’d suggest Rebuild one. Click OK.
21. And now watch as vLite rebuilds your version of Vista.
22. It isn’t particularly entertaining.
23. Once the process has completed, click Next.
24. From the Make bootable ISO for testing or burner screen, click Make ISO.
25. And select a location to save your new Vista ISO.
26. Watching the ISO being created isn’t much more interesting than watching the “new” version of Vista being built.
27. Once it’s done, click Exit.
28. Now burn your ISO to a DVD, and you’ll have your custom, bootable version of Vista ready to install on your PC, the next time the need arises.
The Law of Diminishing Returns: How To Maximize Productivity and Gains
-
Hi everyone! Today I want to share a concept that I find very applicable to
personal growth: the law of diminishing returns. It teaches us how to
maximize ...
9 months ago
0 comments:
Post a Comment